“What do you want? You, you want the moon?! Just say the word and I’ll throw a lasso around it and pull it down. I’ll give you the moon, Mary. Well then, you could swallow it, and it’d all dissolve, see? And the moon beams’d shoot out of your fingers and your toes and the ends of your hair. Am I talking too much?” – Jimmy Stuart – It’s a Wonderful Life
I’ve been married to my wonderful wife for 5 years. The traditional gift for the 5 year anniversary is wood. No pressure for a woodworker… Well, she made it easy on me, she asked for the moon.
I started by consulting NASA’s website. I was in search of topographical data I could translate into toolpaths for the ShopBot. I was in luck when I found the GLD 100 map. I chose the far side of the moon since we otherwise don’t get to see it and I’ve been known to indulge in Pink Floyd.
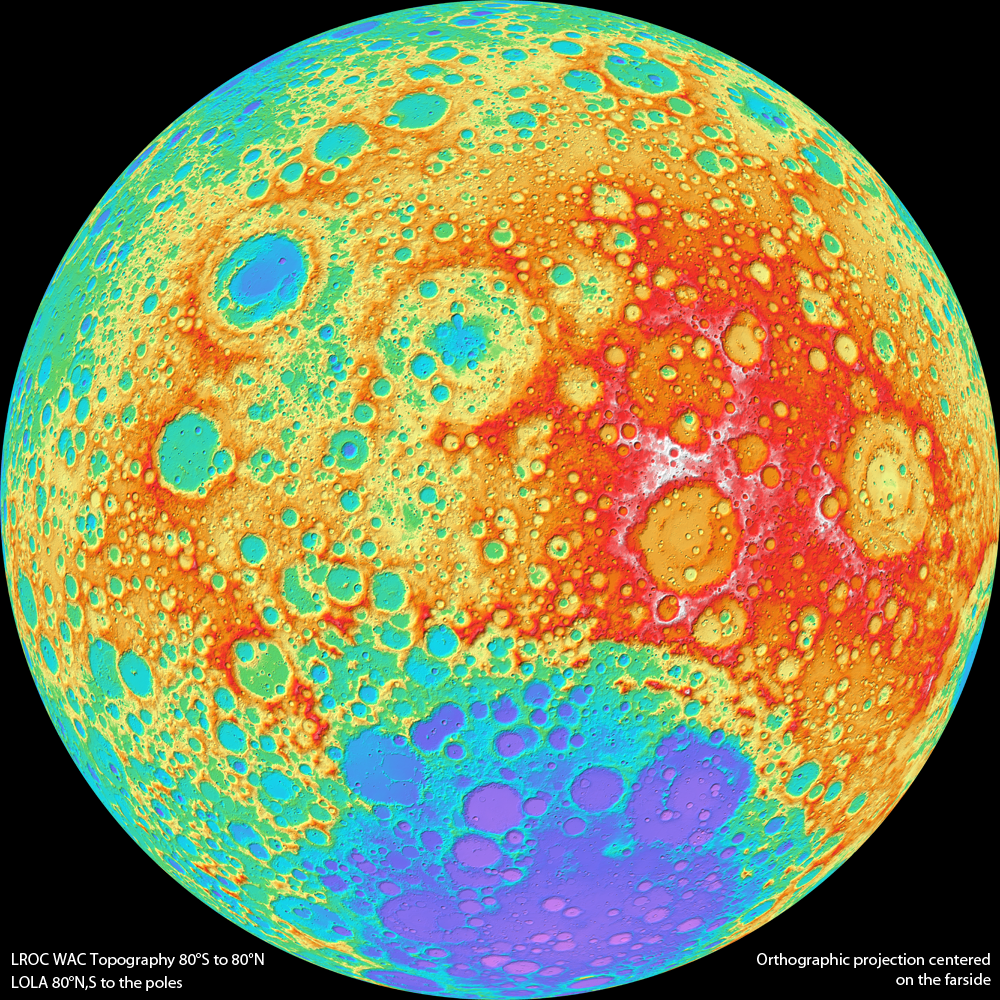
From there my friend Ben Hribar helped me out with some photoshop work. We produced a grayscale image where lower elevations were black and the highest elevations were white. Once that was done, it was on to modeling.
The software I use with the ShopBot has a tool that allows you to import a grayscale image, set a few parameters like material thickness, the range from lowest cut to highest cut, and a few others. Once the image was processed, I was left with a 3D model ready to carve.
I created a roughing toolpath to remove the bulk of the material with a 1/2″ square endmill.
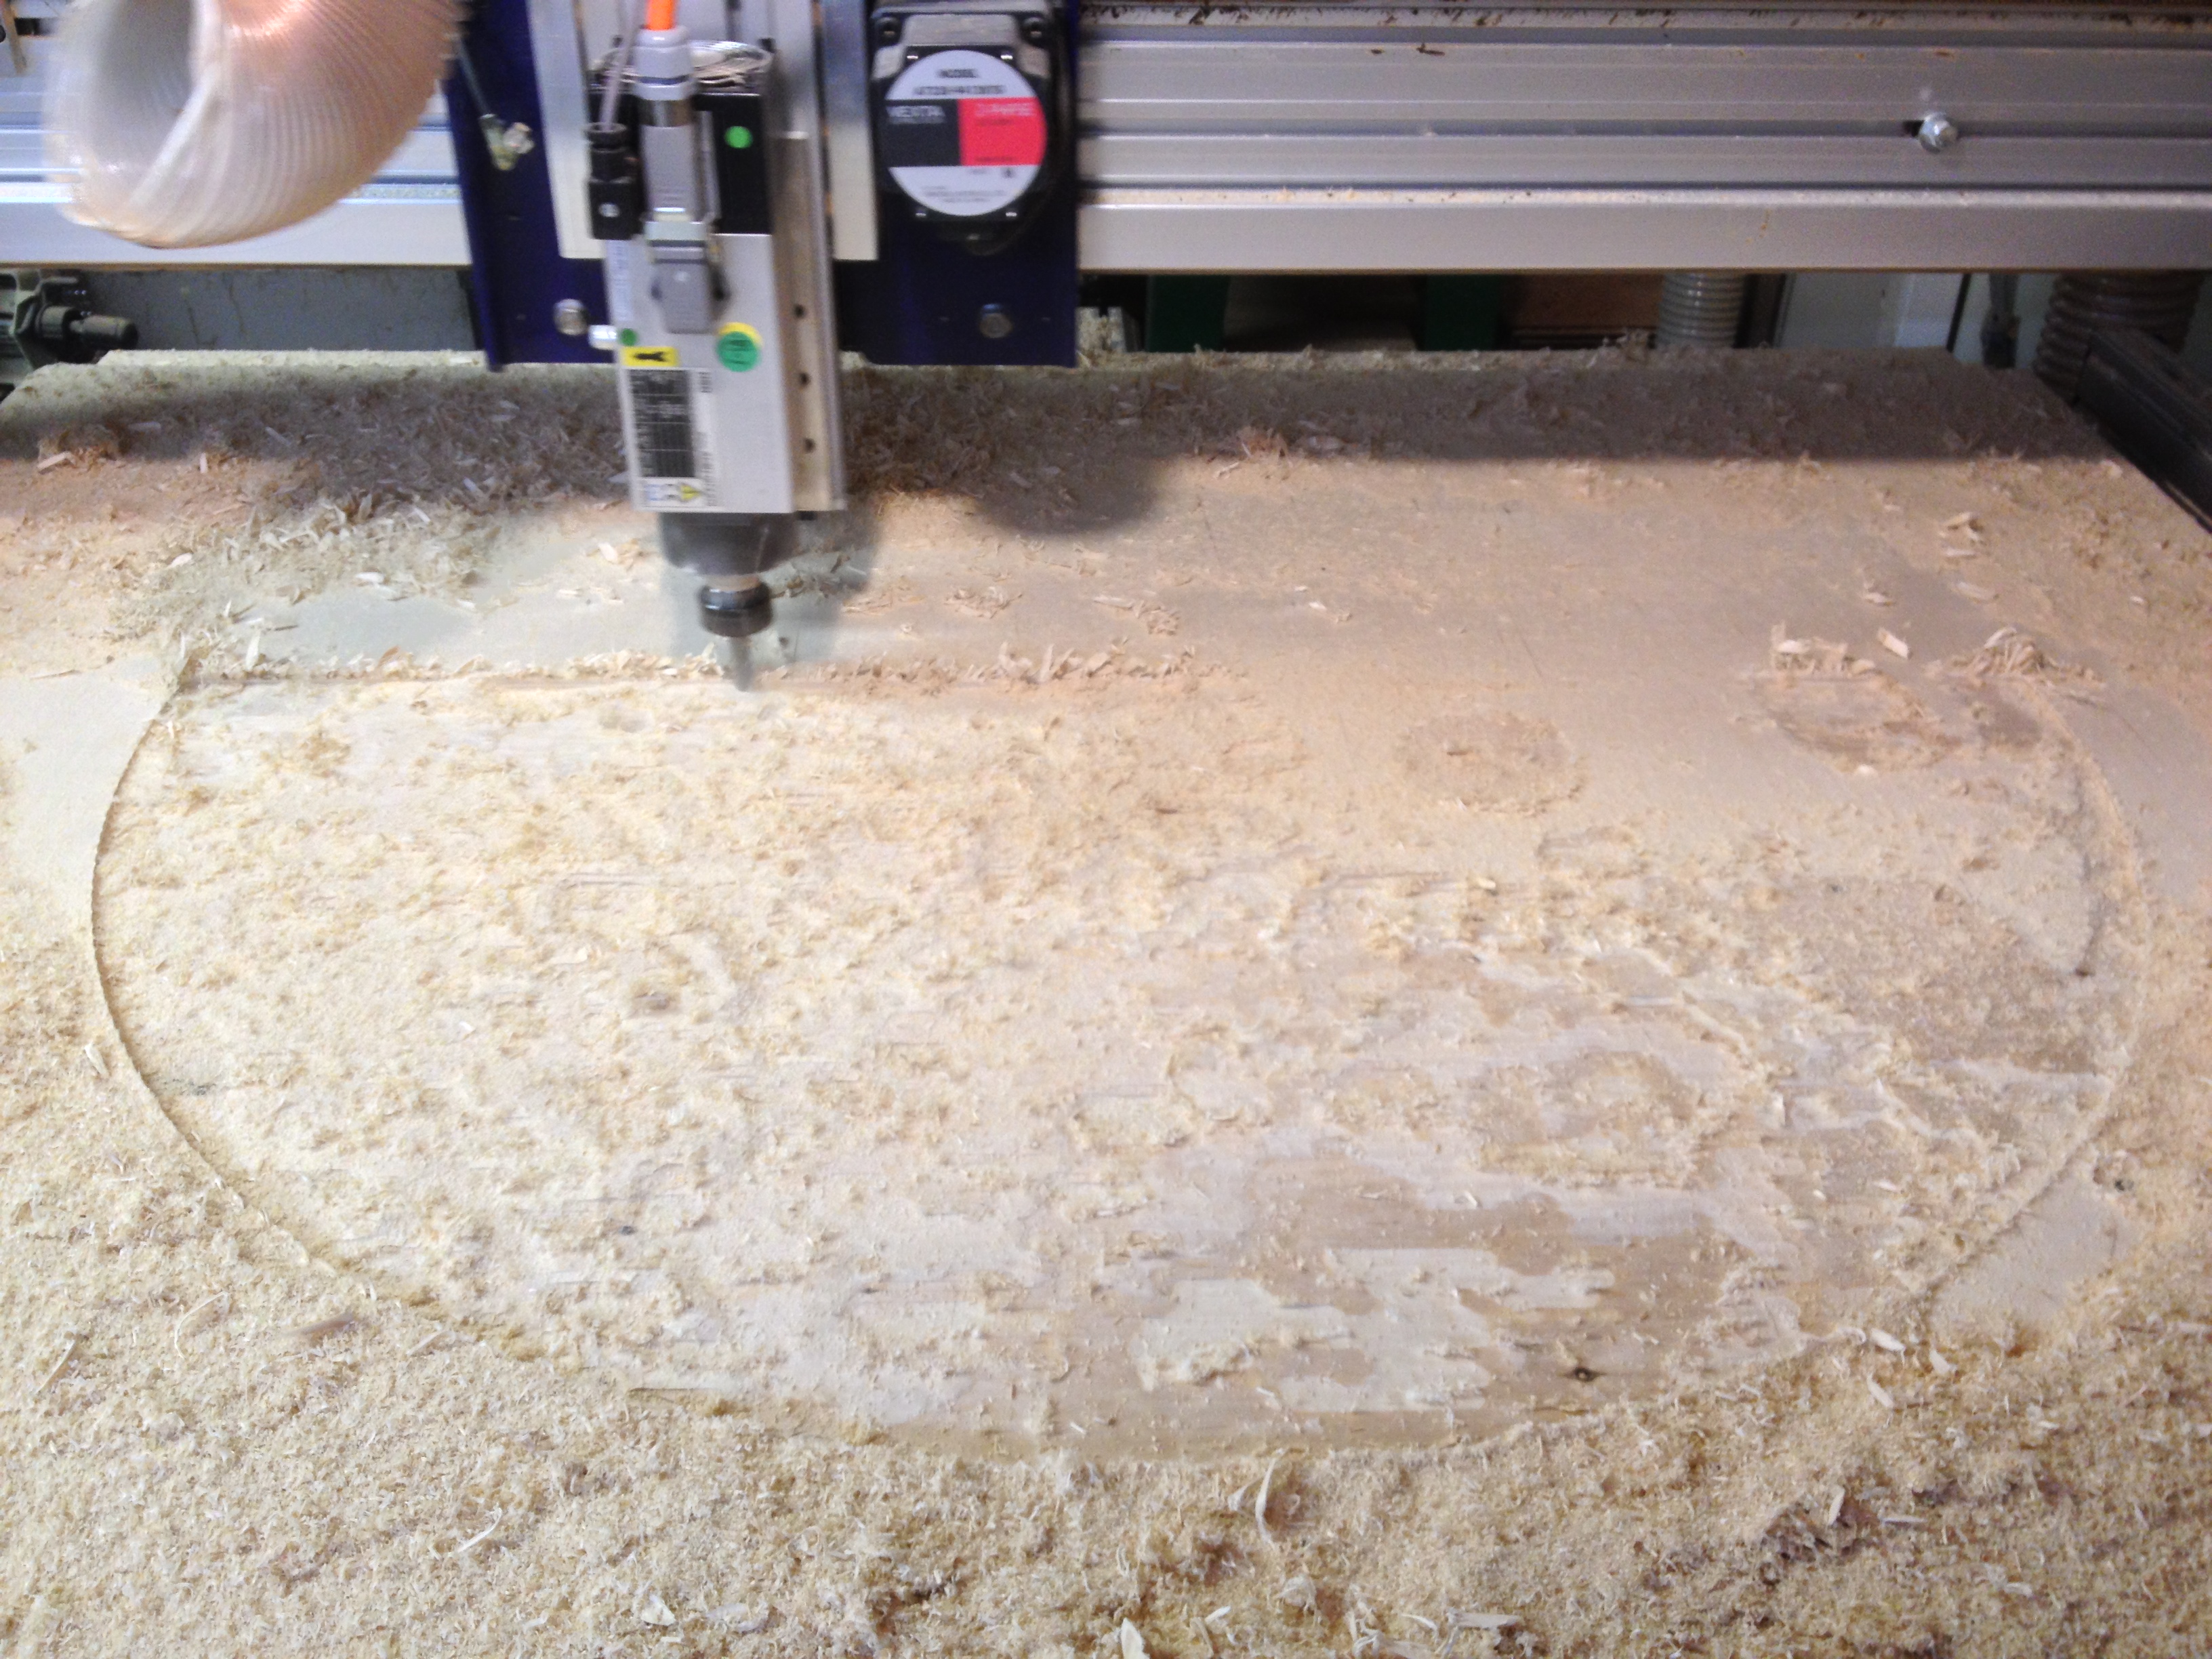
Then I created a finishing toolpath to give a nice finish with a 1/2″ ballnose mill. See my post on router bits for more explanation of these.
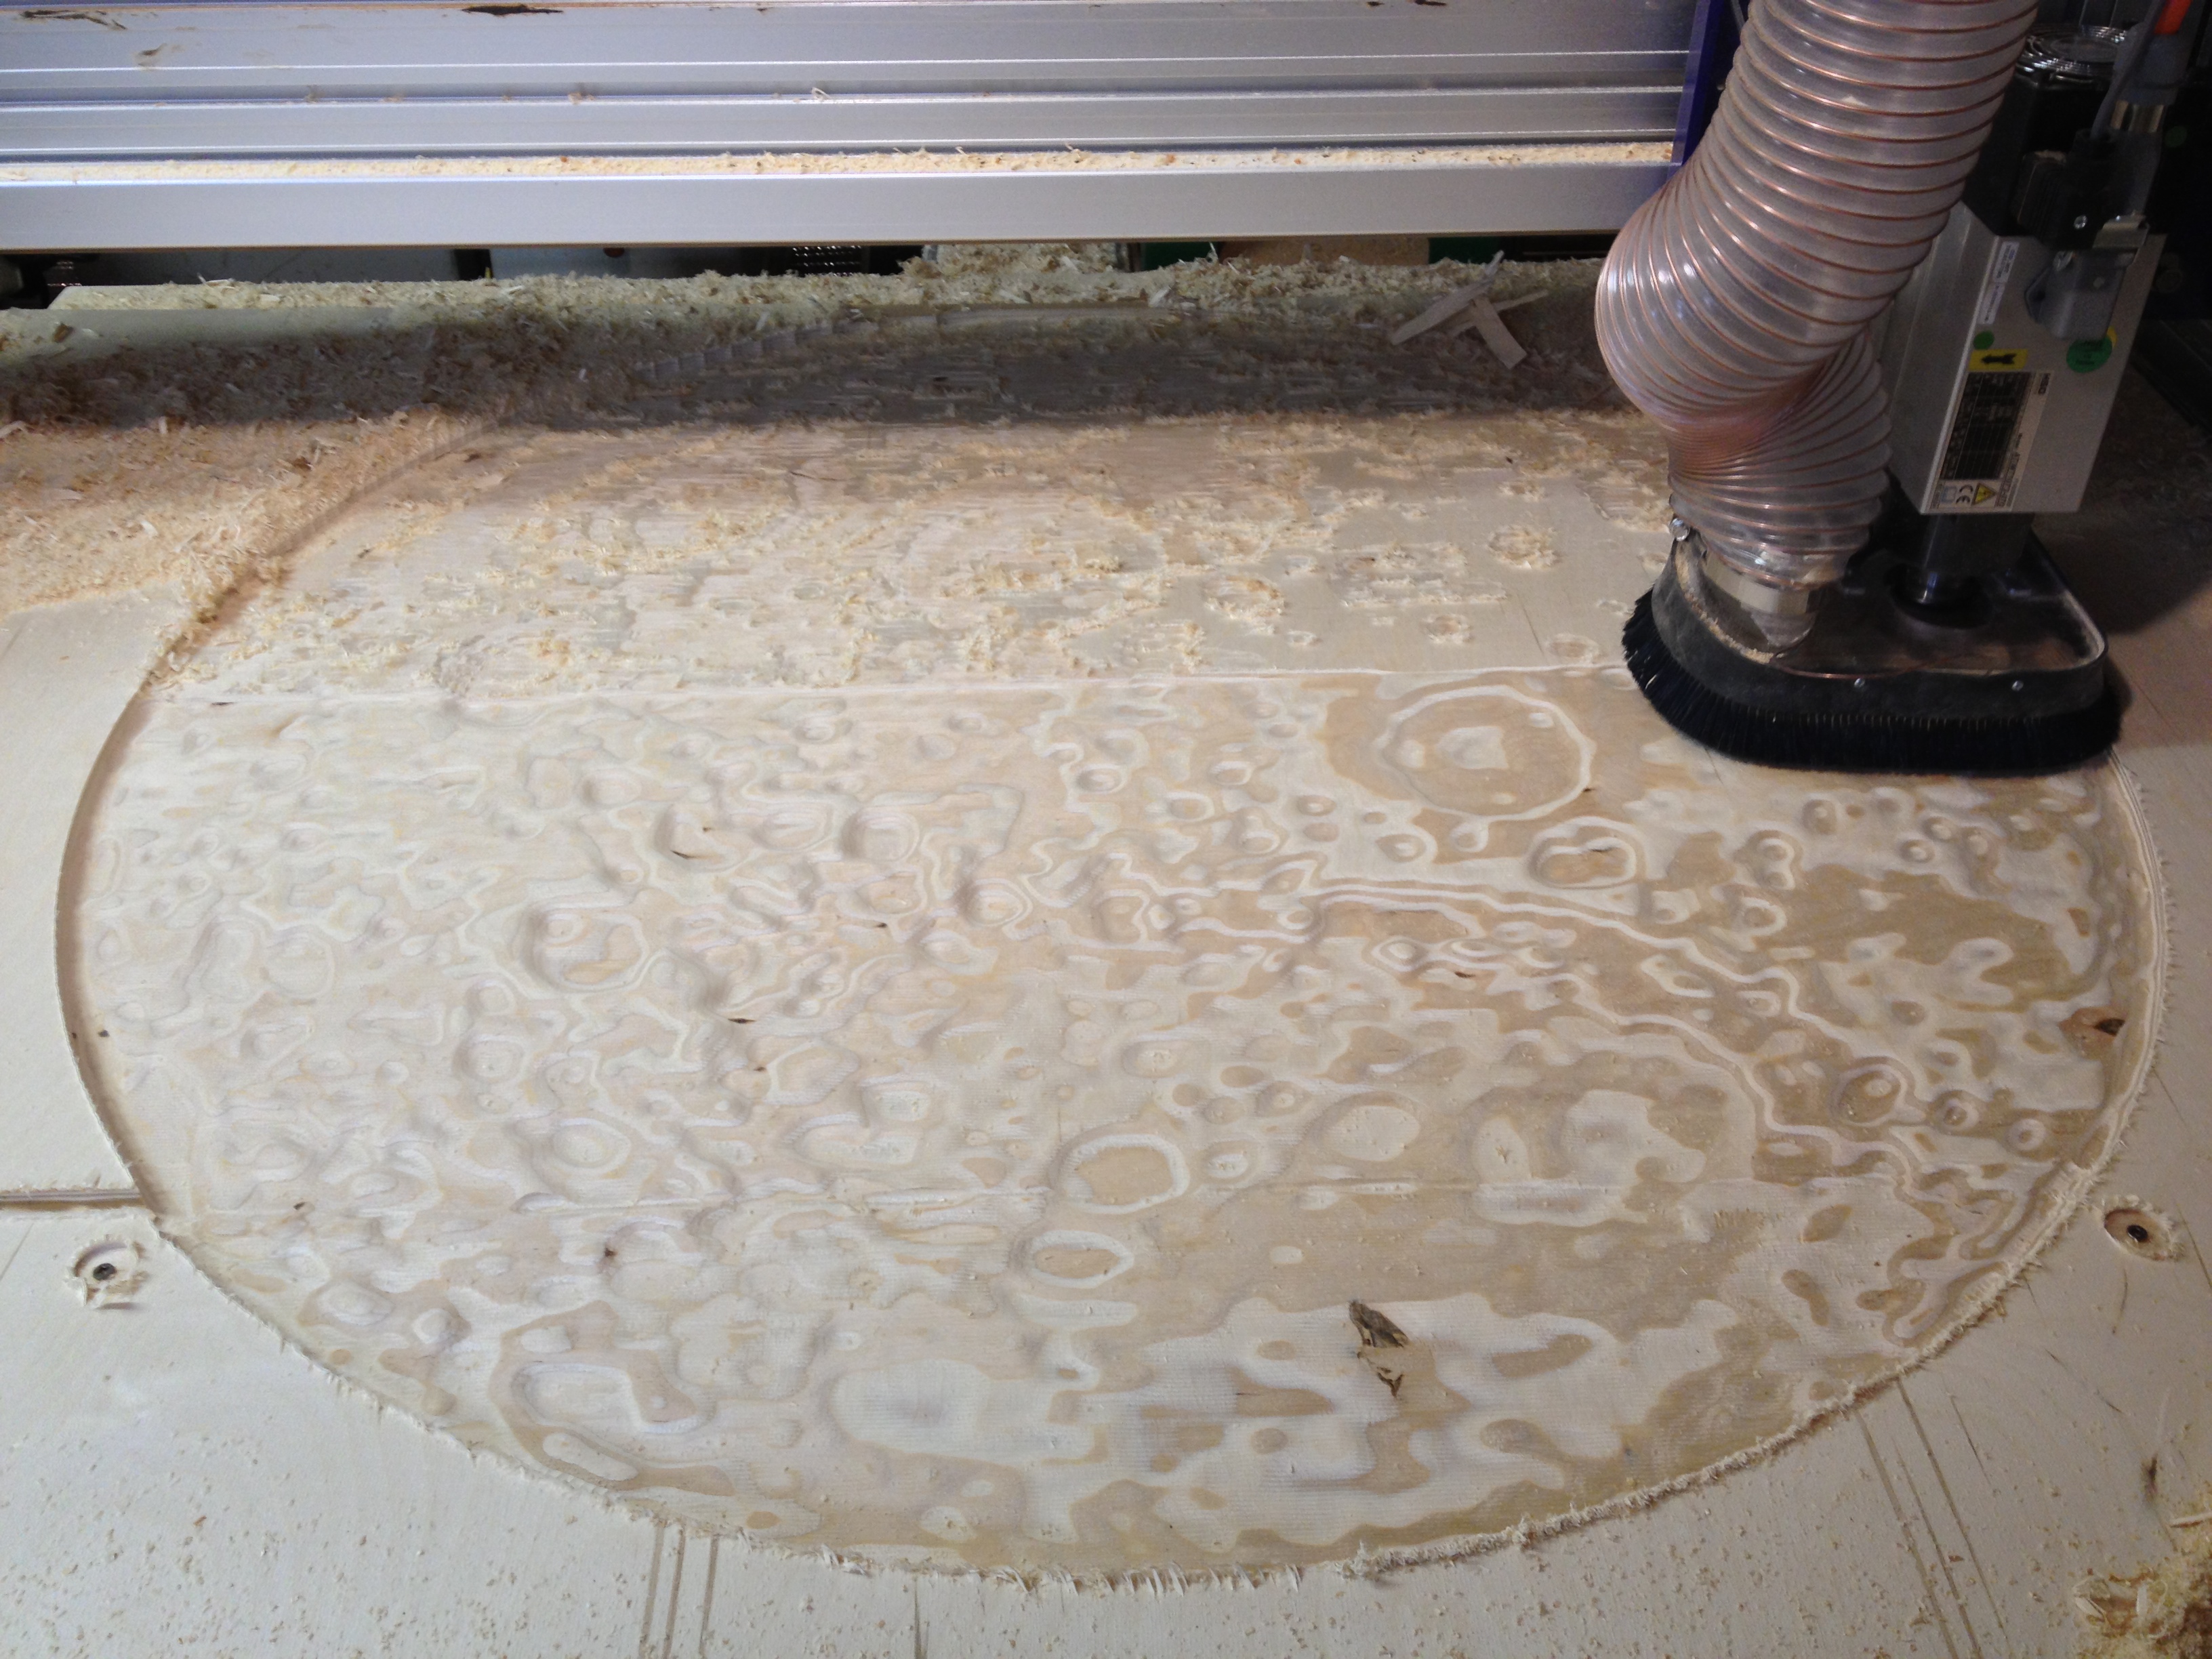
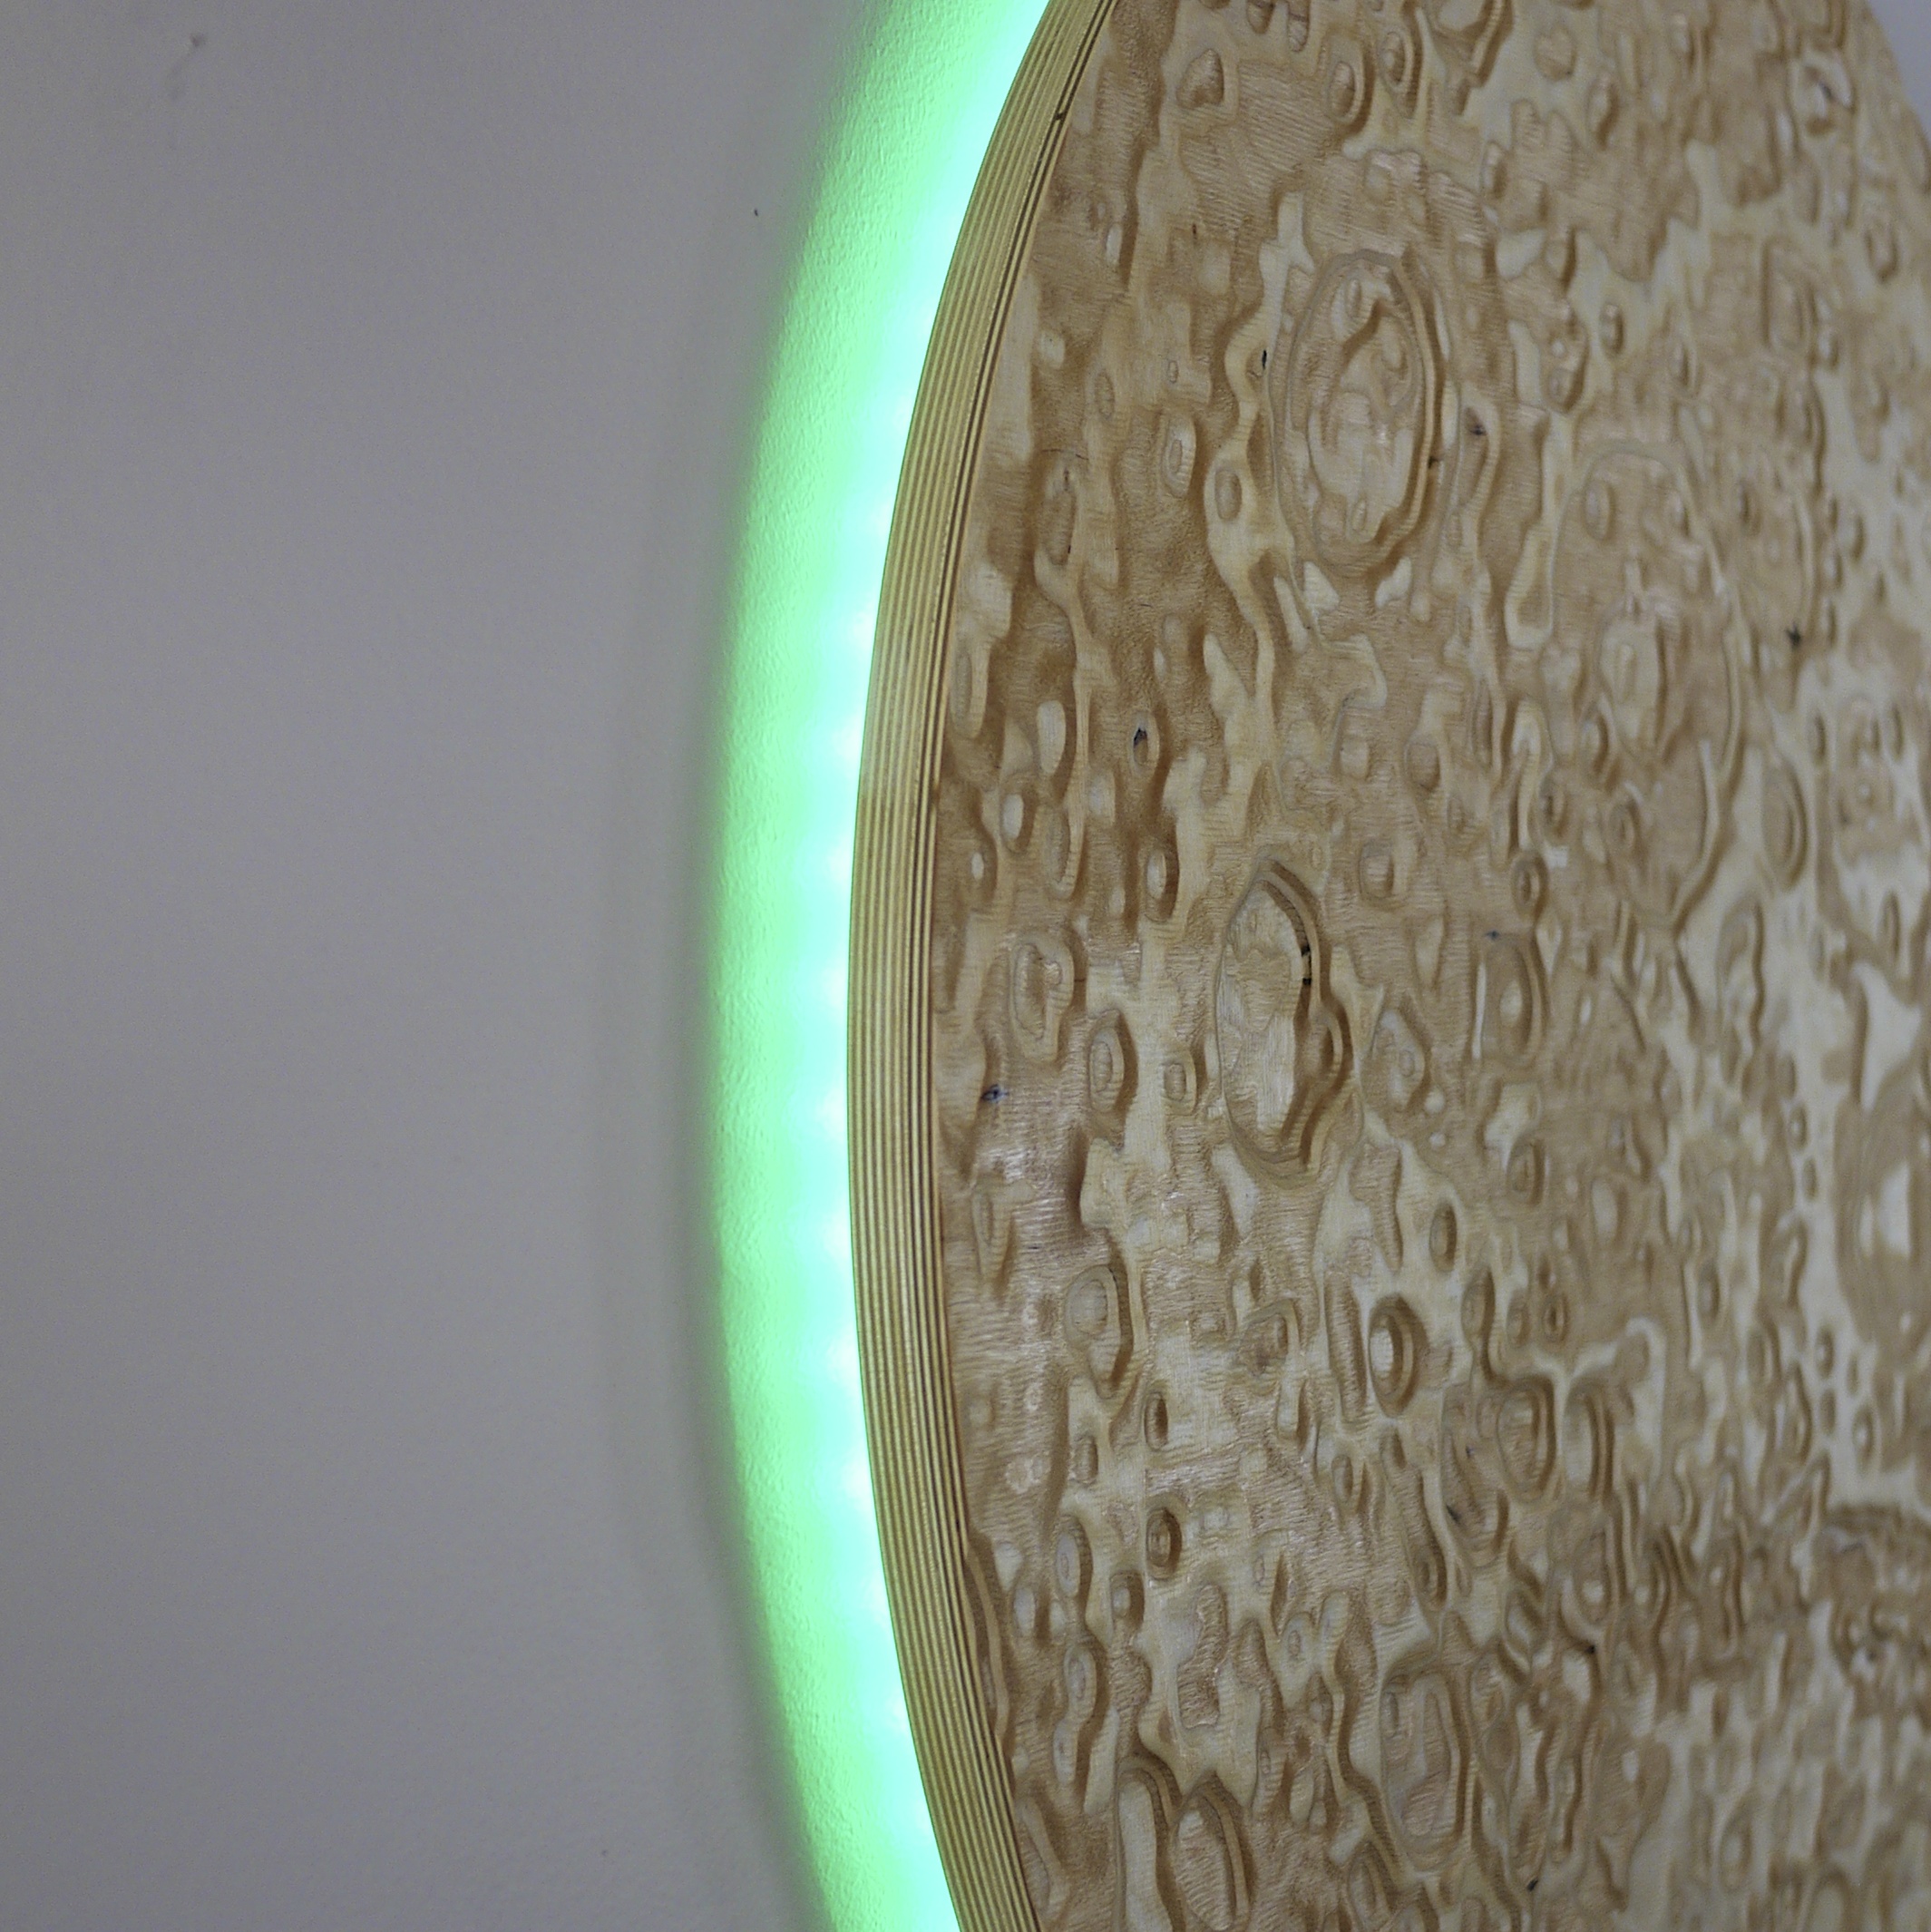
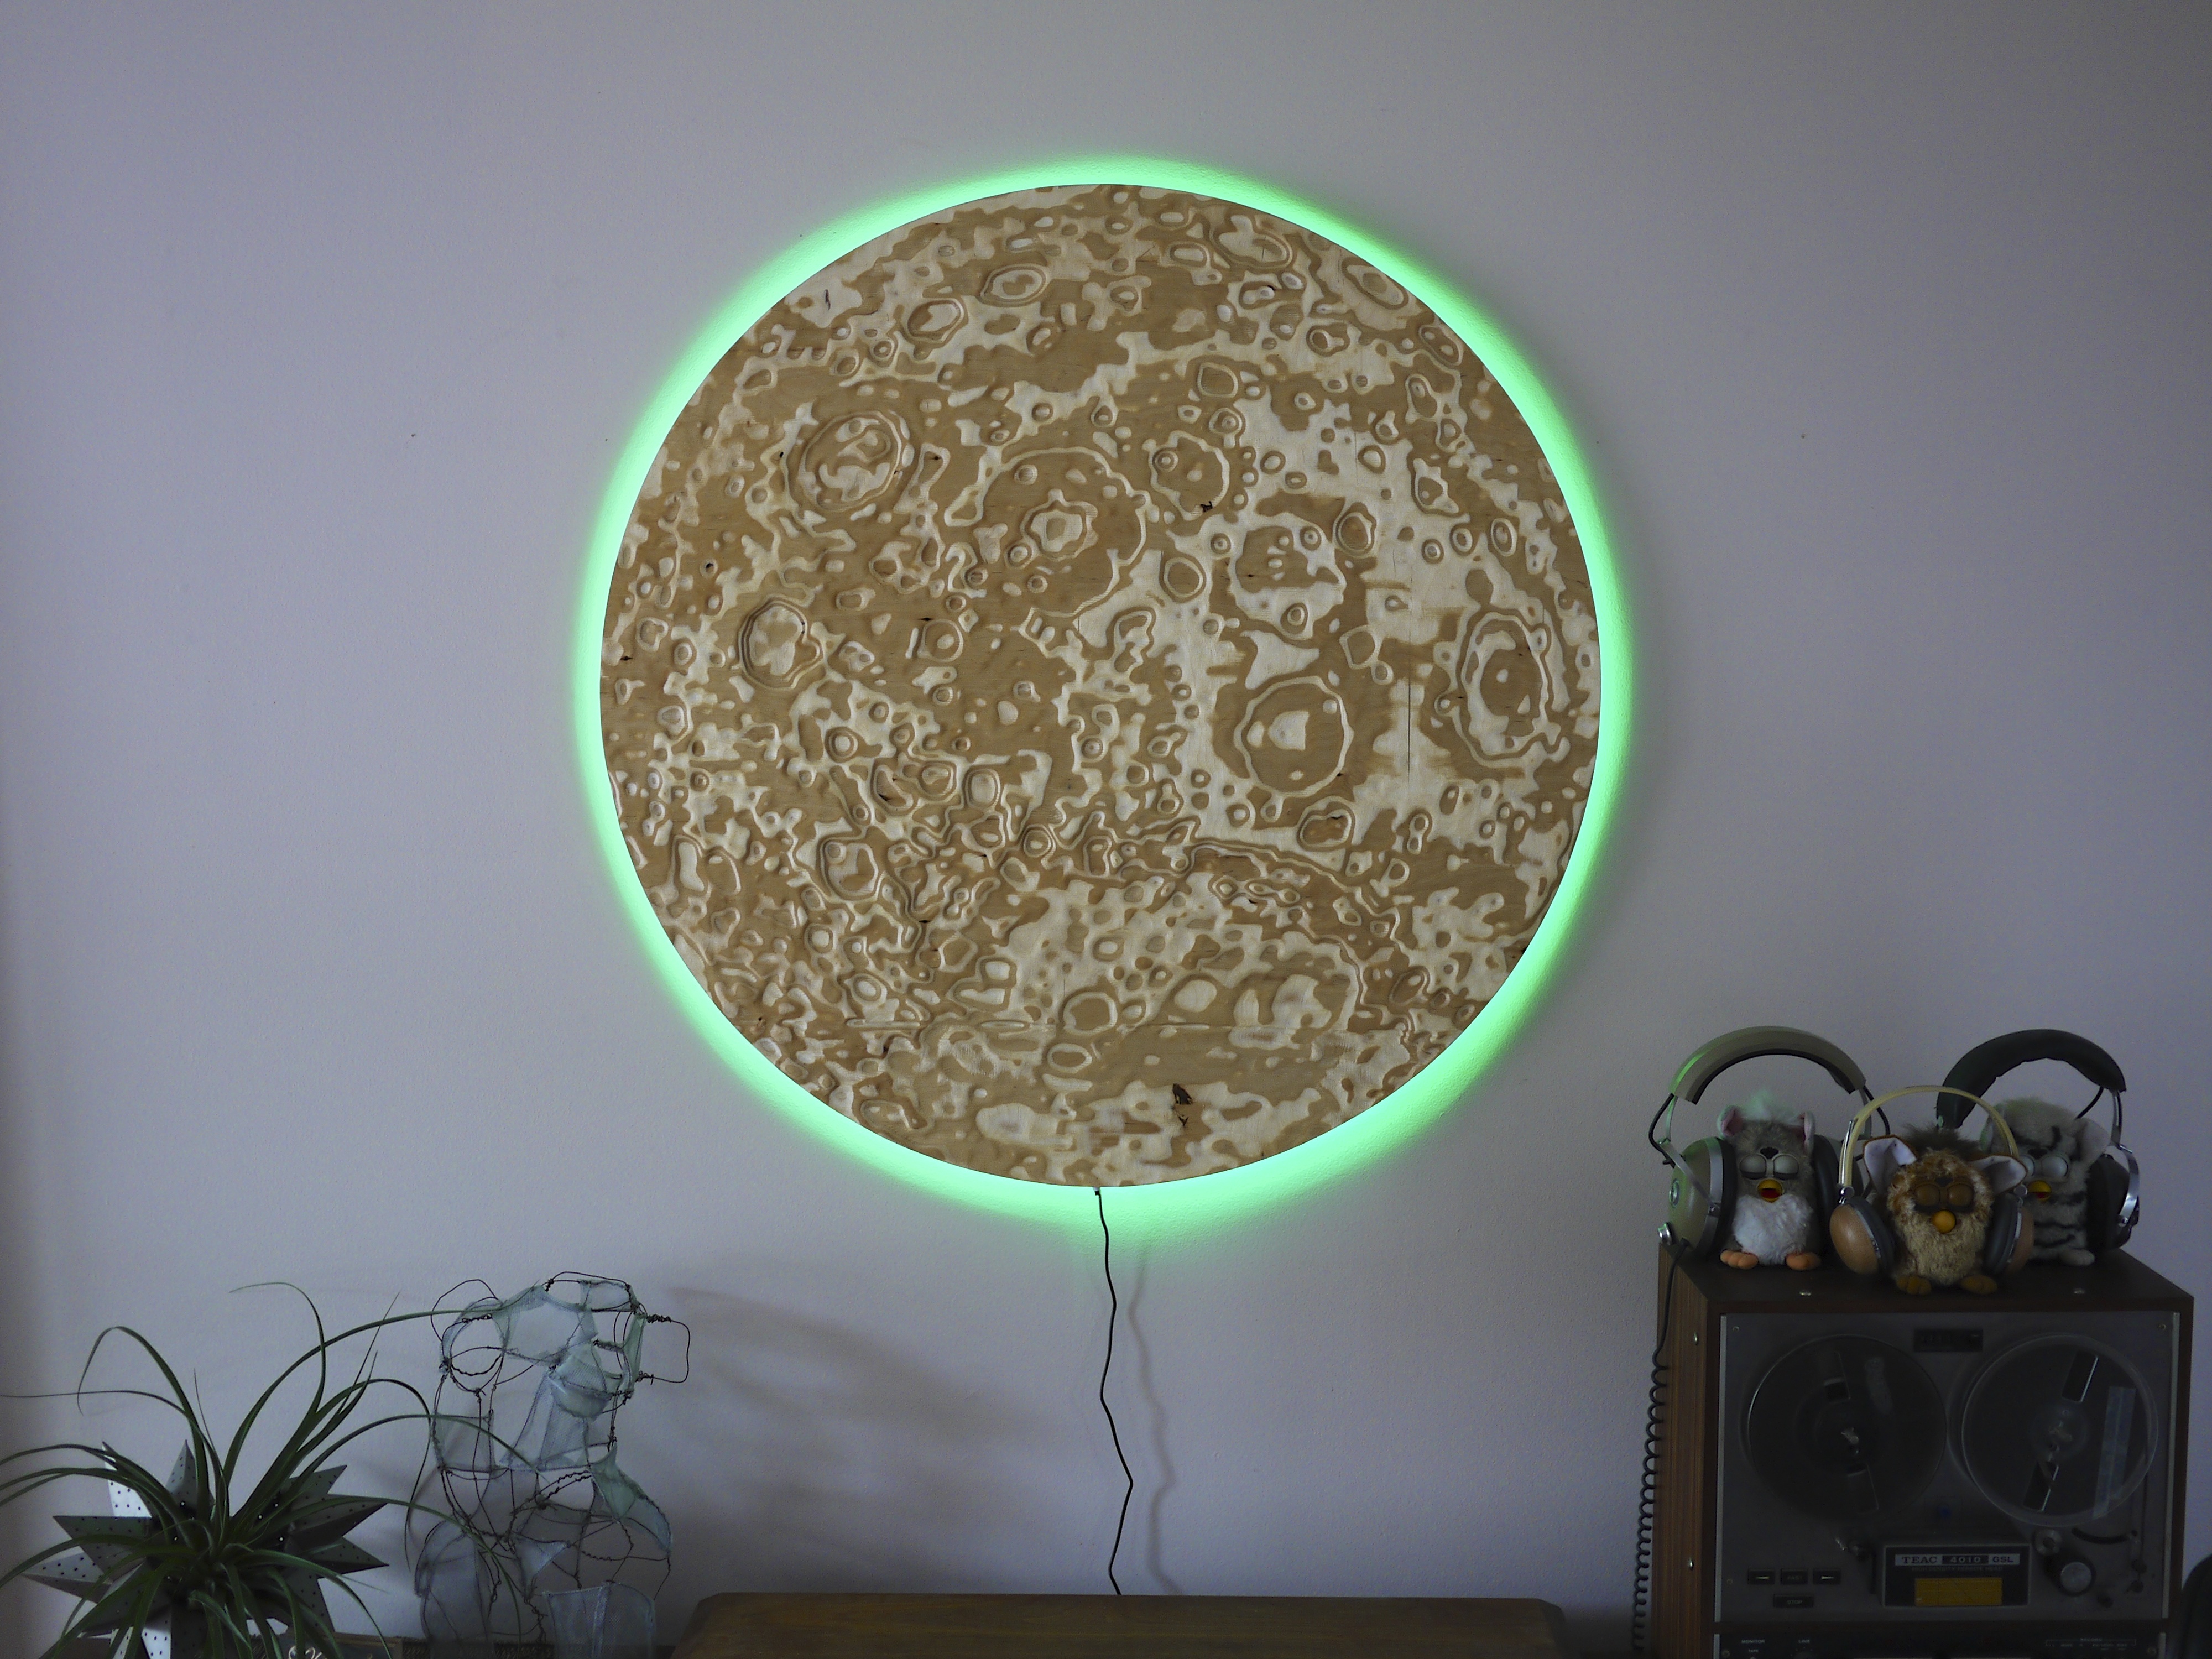
The moon is carved from a single piece of 3/4″ baltic birch plywood. I love the way the alternating layers of dark and light veneers accentuate the topography.
I cut a second ring to mount on the back of the moon. It’s purpose is to provide a lip to hang the moon from, hold 4 – 3/8″ dowels to bring the moon away from the wall, and to accept a strip of LED lights.
I chose analog LEDs for the price and simplicity of setting them up. The set I bought came with 16′ of LED tape, a power supply, a controller, and a remote control.
Do you give CNC Instruction. I sure could use the help. I have watched lots of videos. They seem to go quicker than I can absorb. I try to back them up even do the same things on my computer. However, when I get started to make a design, all is lost from memory, Ithink
Absolutely gorgeous! Would you consider posting the file associated with the cuts? Or clarify how to convert the elevation to data you can use?
I’ve done topographical cuts using Terrain2STL and importing that into Aspire, but that sources Google Maps data, so no moon for me!